Introduction
Building a home is one of the most significant investments you'll make in your lifetime. Ensuring that every step of the process meets quality standards is important to safeguarding this investment. One of the most important stages is the preparation and pouring of the concrete slab—the foundation on which your entire home rests. Mistakes or oversights during this stage can lead to structural issues, costly delays, and increased stress down the line.
This is where our C5 Pre-Pour Slab Inspection Checklist comes into play. Designed specifically for the unique requirements of residential construction, this checklist provides a systematic approach to inspecting your site before the concrete pour. By following our comprehensive cheklist, you can identify potential issues, ensure general compliance with industry standards like AS2870, and communicate effectively with your contractor.
In this post, we’ll break down everything you need to know about the checklist: what it is, why it matters, and how to use it effectively.

What Is our C5 Pre-Pour Slab Inspection Checklist?
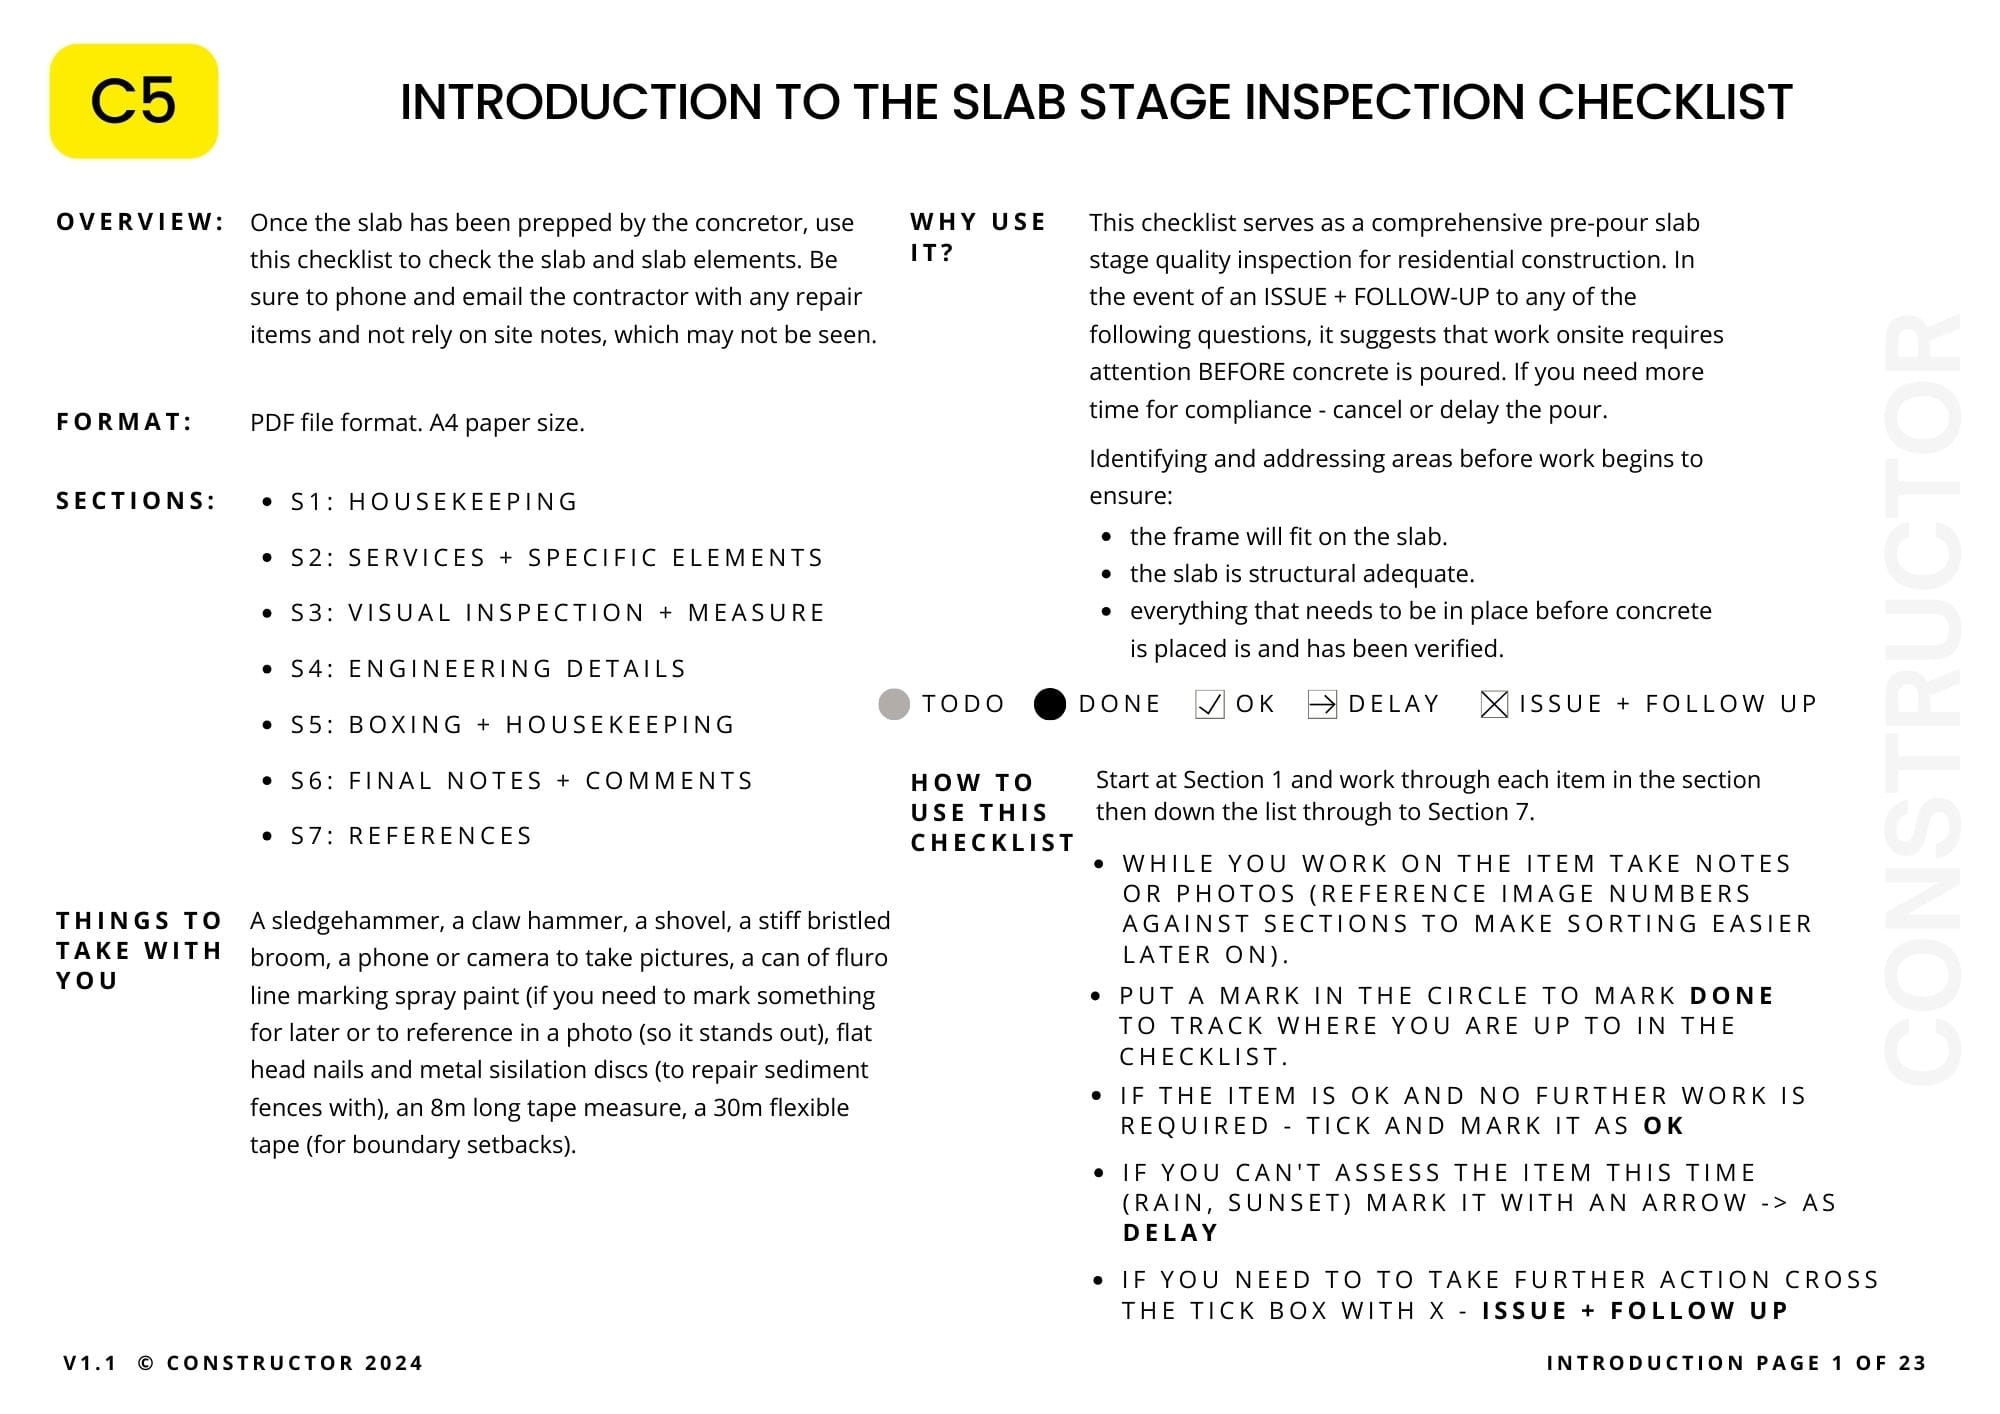
The C5 Pre-Pour Slab Inspection Checklist is a practical tool designed to empower you to inspect the quality of your slab against plans, standards and best practices. It provides a structured approach to inspecting key elements before the concrete pour, ensuring everything is prepared and compliant with Australian Standards, such as AS2870.
This checklist is divided into seven sections, each focusing on a important aspect of the slab preparation process:
- Housekeeping – Ensuring the site is tidy and prepared for work.
- Services & Specific Elements – Verifying utility installations and other essential pre-pour elements.
- Visual Inspection & Measurements – Checking formwork, dimensions, and alignment.
- Engineering Details – Confirming reinforcement, trench mesh, and compliance with engineering design and generally with AS2870 best practices.
- Boxing & Housekeeping – Assessing the formwork and site setup for concrete pouring.
- Final Notes & Comments – Documenting any unresolved issues or observations.
- References – Providing guidelines and standards that form the basis of the checklist.
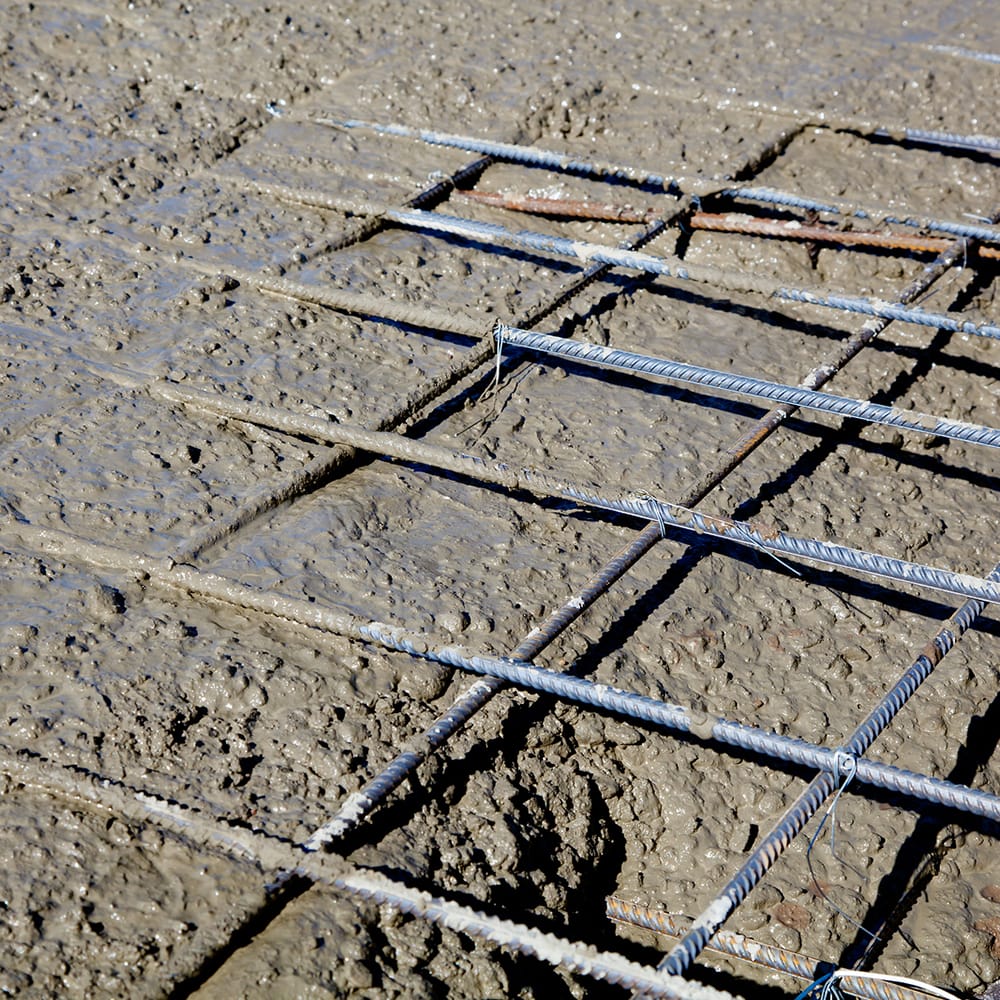
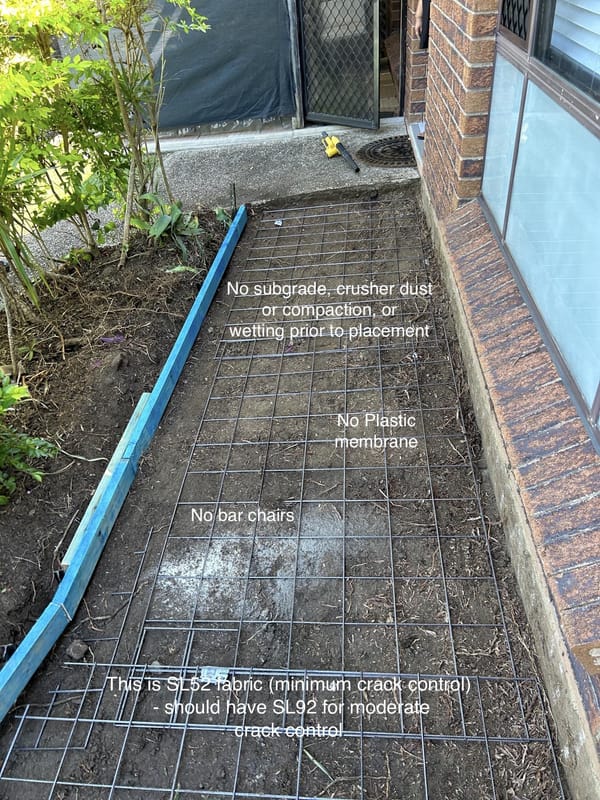
By identifying and addressing problems early, you can avoid delays, costly rework, or structural deficiencies. For example, something as simple as an improperly placed reinforcement bar can compromise the structural integrity of your slab, increasing the liklihood of shrinkage cracking.

Why The Pre-Pour Slab Inspection Matters
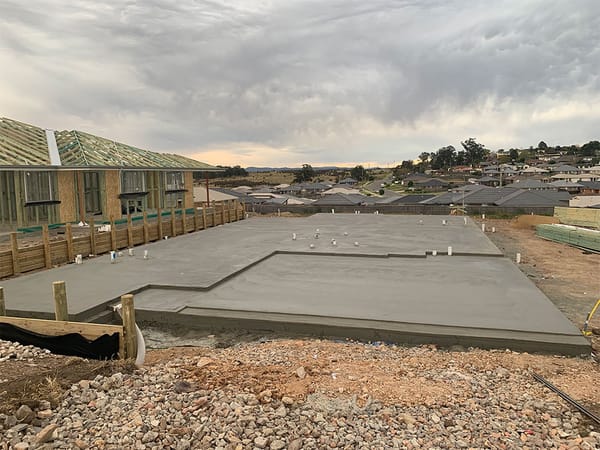
A pre-pour inspection is one of the most critical stages in residential construction. It’s your last chance to ensure that everything is in place before the cake gets baked—because once the concrete sets, there’s no going back without significant expense and disruption.
1. Avoiding Structural Issues: The concrete slab is the foundation of your home. If there are errors in its preparation, they can lead to long-term issues such as cracking, uneven floors, or even structural or foundational instability. These problems are often costly to fix and can impact the safety and longevity of your home.
2. Saving Time and Money: Mistakes caught during or after the slab pour can result in project delays, additional labour, and costly material waste. For example, identifying misplaced reinforcement before the pour can save the time and expense of jack hammering or demolishing the slab to fix the error later.
3. Ensuring Compliance with Standards: In Australia, residential slabs and footings must comply with AS2870, the national standard for slab and footing construction. This standard outlines requirements for everything from reinforcement placement to moisture barriers. A pre-pour inspection helps ensure your project is up to code, reducing the risk of non-compliance penalties or structural defects.
4. Highlighting Potential Problems: The C5 Pre-Pour Slab Inspection Checklist not only identifies existing issues but also highlights areas that might require further investigation. For example, a damp-proof membrane not extending beyond the edges of the slab could lead to moisture issues in the future.
5. Empowering You: While you might think to leave inspections entirely to contractors, our checklist gives you the tools to stay informed and involved. Being proactive not only gives you peace of mind but also improves communication with your builder or concretor, ensuring everyone is aligned on expectations and outcomes.
Section Highlights and Key Inspection Points
The C5 Pre-Pour Slab Inspection Checklist is divided into seven structured sections, each addressing specific elements of slab preparation. Here’s a breakdown of the main points you need to focus on in each section.
Section 1: Housekeeping
Housekeeping might seem basic, but a well-organised site is the foundation for a successful pour. Key inspection points include:
- Sediment Fence Installation: Check that sediment fences are upright and functional to prevent soil erosion and protect nearby areas.
- Site Cleanliness: Ensure rubbish is cleared, and excess materials are neatly stacked. This reduces hazards and helps the site operate smoothly.
- Signage: Verify that builder and safety signs are visible and stable for compliance and communication (yep, you can get fined if these are not visible during construction especially if the inspector is feeling particularly painful).
- Erosion Control: Look for a displayed erosion and sediment control (ESC) plan, ensuring measures are in place to prevent environmental damage.
Section 2: Services & Specific Elements
This section focuses on utilities and specific pre-pour installations. Key points include:
- Plumbing Penetrations: Verify that all pipes are capped or taped to prevent concrete from entering.
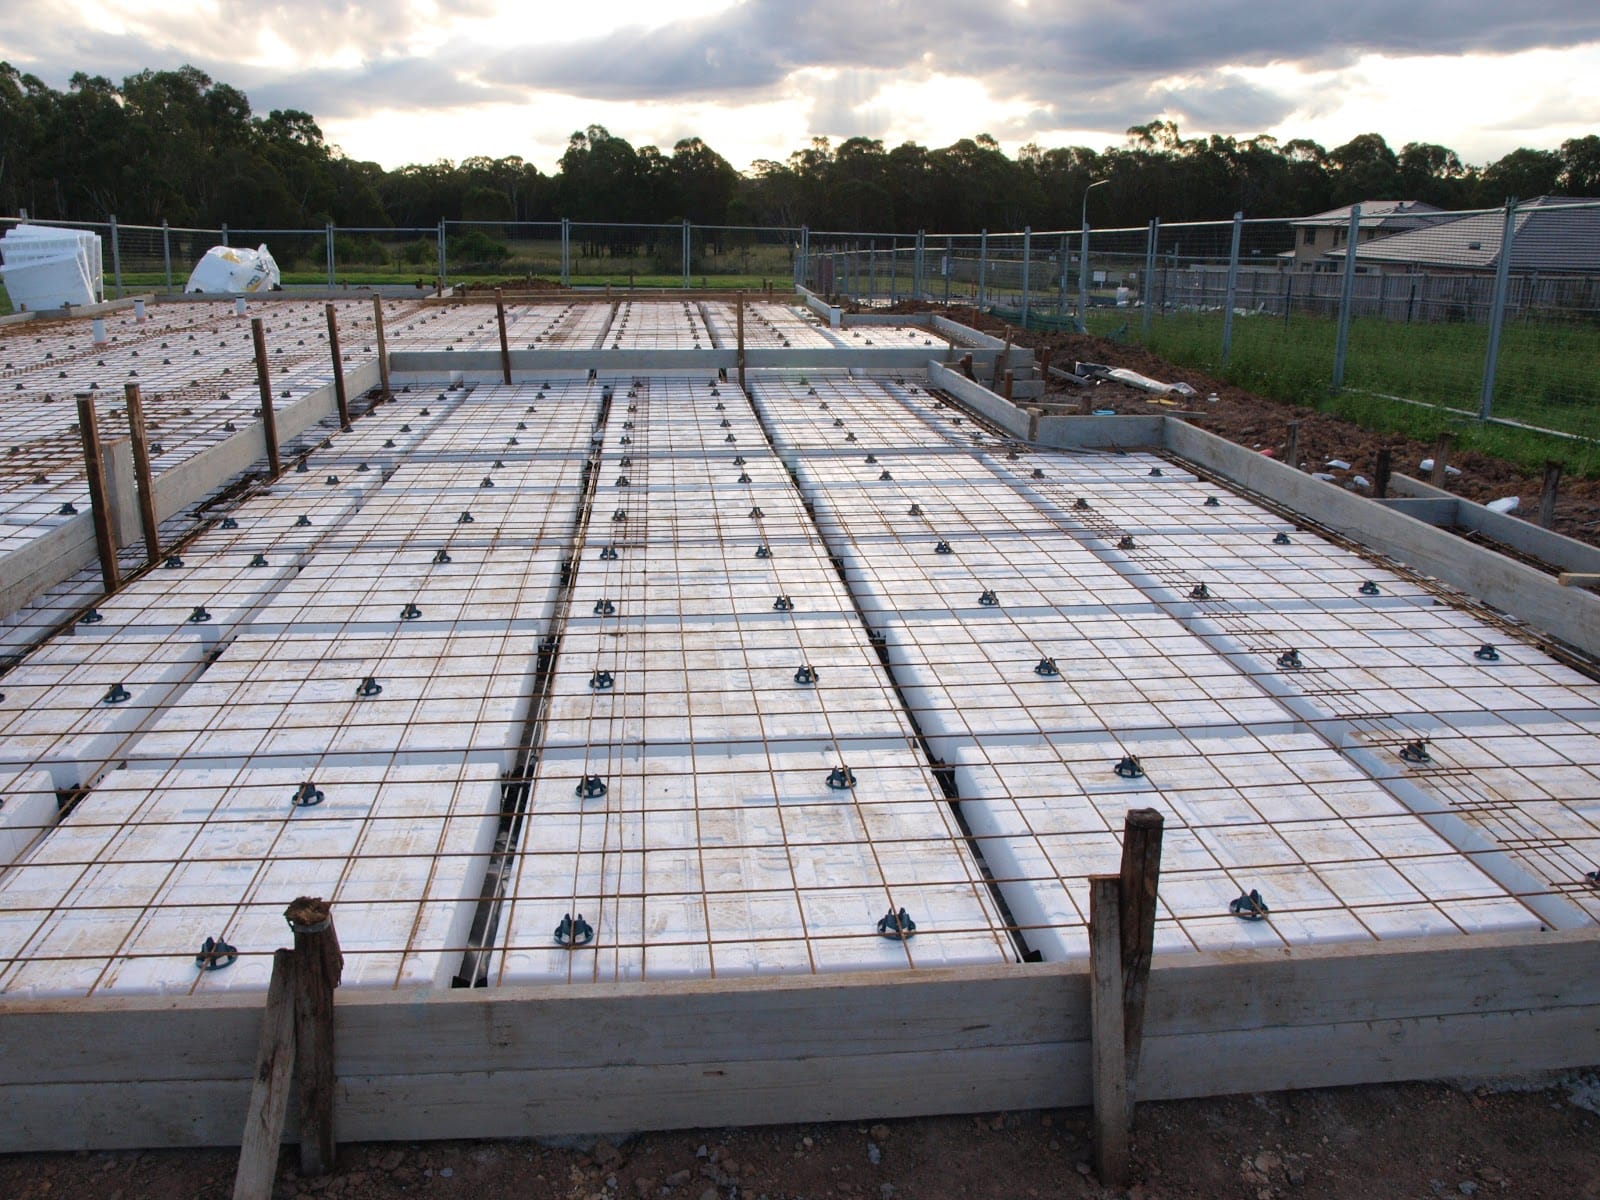
- Damp Proof Membranes: Ensure the membrane extends at least 300mm beyond the slab edges (to be wrapped up against the slab edge prior to filling/grading away) for effective moisture protection.
- Electrical Conduits: Check that conduits for kitchen islands and other areas are positioned correctly according to the plan.
- Termite Barriers: Confirm that termite barriers are installed and set to the correct height to ensure it is concealed within the concrete (below the FFL - finished floor level).
Section 3: Visual Inspection & Measurements
This section is about confirming the slab’s dimensions and alignment. Key inspection points include:
- Boundary Clearances: Measure front and side boundary setbacks to ensure compliance with the site plan.
- Formwork Tolerance: Verify that all formwork dimensions are within a ±5mm tolerance using a tape measure and laser level.
- Reinforcement Locations: Check that reinforcement is positioned correctly, with appropriate clearances from the formwork.
- Floor Levels: Confirm that setdowns for wet areas and step-downs are accurately placed per the plan.
Section 4: Engineering Details
This section is the backbone of the checklist, addressing the structural integrity of the slab. Key points include:
- Reinforcement: Measure trench mesh and corner bar sizes, ensuring they match the engineer’s specifications.
- Concrete Cover: Confirm minimum concrete cover (e.g., 40mm to unprotected ground) to protect reinforcement from corrosion.
- Damp Proofing: Check that vapour barriers or membranes are installed and sealed around plumbing penetrations.
- Slab Thickness: Verify slab thickness and reinforcement placements to meet design requirements.
Section 5: Boxing & Housekeeping
This section addresses the final preparation of the formwork before pouring. Key points include:
- Formwork Stability: Inspect formwork bracing to prevent blowouts during the pour.
- Boxing Cleanliness: Ensure formwork is clean and oiled for easy removal after the pour.
- Stormwater Markings: Identify and mark any stormwater pipe stakes to avoid post-pour complications.
Section 6: Final Notes & Comments
This section is for documenting unresolved issues or additional observations. Key tasks include:
- Engineer’s Report: Ensure the slab has been inspected and approved by the engineer, with a docket left on-site.
- Outstanding Issues: Note any items needing attention and follow up with the contractor to confirm resolutions.


Section 7: References
The checklist concludes with references to standards and best practices, such as AS2870, ensuring you understand the basis for some of our inspection items.
Please note we will improve all our checklist reference sections in a future version. It takes a heap of time to assemble our checklists into this format and cross referencing images to checklist items is another level of focus we are not yet able to achieve.
Conclusion
By using our C5 Pre-Pour Slab Inspection Checklist, you can take an active role in ensuring that your slab is prepared to the highest standards. This checklist empowers you to identify potential issues, communicate effectively with your contractor, and make informed decisions that protect your investment.
A well-prepared slab not only ensures the structural integrity of your home but also saves you time and money by avoiding costly rework or delays. By following the steps outlined in this guide and addressing each section of the checklist methodically, you’re setting a solid foundation—both literally and figuratively—for a successful build.
Remember, you don’t have to be a construction expert to make a difference. With the right tools, clear communication, and a proactive mindset, you can confidently manage the quality of your construction project. For additional resources and expert advice, explore the related articles and keep building your knowledge.
Your new home deserves the best start, and it all begins with a strong foundation. Happy cake day to your new slab!
FAQS
1. Why is a pre-pour inspection necessary?
A pre-pour inspection ensures that all critical elements, such as reinforcement, plumbing penetrations, and formwork, are in place and compliant with Australian Standards like AS2870. It helps prevent costly mistakes, delays, and structural issues.
2. Can I conduct a pre-pour inspection myself, or do I need a professional?
While the C5 Checklist is designed for homeowners, involving a professional inspector or engineer can provide added assurance, especially for more complex elements like reinforcement and engineering details.
3. What tools do I need for a pre-pour inspection?
Key tools include a measuring tape, laser level, camera, fluorescent spray paint, and site plans. These help you measure dimensions, document findings, and mark areas requiring attention.
4. What should I do if I find an issue during the inspection?
Document the issue with photos and detailed notes. Notify your contractor immediately via email and phone, ensuring they provide a timeline for rectification. Don’t proceed with the pour until the issue is resolved.
5. What is AS2870, and why is it important?
AS2870 is the Australian Standard for residential slabs and footings. It outlines the requirements for design, construction, and site preparation to ensure a durable and safe foundation.
6. How do I know if the slab is ready for pouring?
The slab is ready when all checklist items are marked as "Done," and any issues have been addressed. Ensure the engineer has inspected and signed off on the slab preparation. Ensure termite protection is installed as well as all underslab services or conduits. Ensure setdowns are marked on the boxing and formwork is installed
7. What happens if I delay the concrete pour?
Delaying the pour may incur additional costs for rescheduling, but it’s better to address issues now than risk structural problems later. Always weigh the short-term inconvenience against the long-term benefits.
8. How can I ensure my documentation is thorough?
Take clear, timestamped photos of each checklist item, particularly any issues. Reference these in your notes and keep copies of all communications with your contractor.
9. What weather conditions are ideal for a concrete pour?
Mild, dry weather is best for pouring concrete. Avoid extreme heat, cold, or rain, if you can as these conditions can affect the curing process and structural integrity. See our further reading section for a boatload of complimentary blog posts all about concrete, steel and the things it does (when no one is looking).
10. What if my contractor disagrees with my findings?
Stay firm but professional. Present your documentation, reference the checklist, and seek a second opinion from an independent inspector if necessary. Never engage a concretor in a drinking competition. Just don't go there!
Further Reading
Buckle up, strap in, we rant about concrete quite a bit!
